

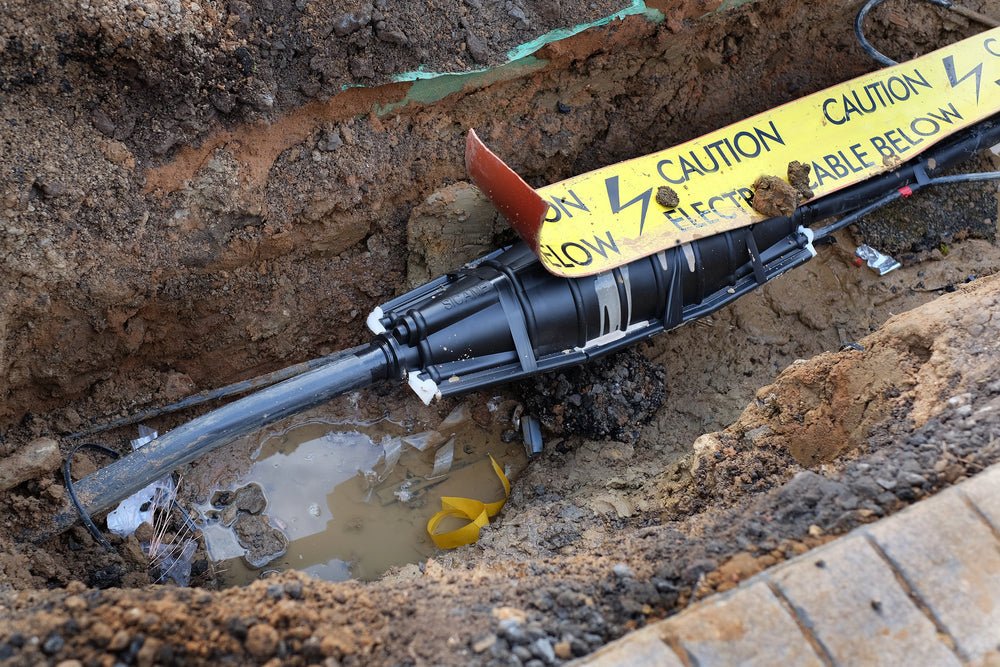
Working outside on electrical stuff sounds messy, especially if you are dealing with underground wiring. The thought of digging into the dirt, setting things up right, and getting the wires tucked away might sound like a job for someone else. However, learning how to install a PVC underground pull box can be simple if you know what to look out for and what steps to follow.
Pick a Spot that Works with the Ground
Begin by selecting an appropriate location. While it may seem that any patch of dirt would suffice, this is not always the case. It is important to choose a spot that remains dry; if rainwater tends to accumulate or the ground becomes soggy, consider selecting a different area.
Proper drainage is important for anything situated beneath the surface. Flat terrain simplifies the process, and grass or mulch is suitable as long as the ground remains relatively level. It is advisable to avoid areas where the soil experiences significant shifting or freezing during the winter, as this movement can negatively affect the setup over time.
Get Your Tools Together
Begin by gathering all necessary tools to avoid unnecessary trips back and forth. At a minimum, you will need a sturdy shovel, a level, a screwdriver, and a hammer. A three-foot level is particularly useful for ensuring the box remains straight during the installation.
Additionally, it is essential to use stone for the base, as it provides stability and prevents the box from sinking or shifting once buried. Avoid using dirt alone for the bottom layer, as it does not maintain sufficient firmness over time.
Excavate a Sufficiently Sized Hole
Begin digging, ensuring that the hole is both wide and deep enough to accommodate the box with ample space around it. The hole should be spacious, not constricting, allowing for adjustments as needed. Remember that the conduit feeding into the box also requires sufficient space.
Position the box so that the top of the adapter is approximately ten inches below the surface level. This detail is important. If the adapter is positioned too high, the lid may become visible or prone to shifting, while a position too low may result in water entering the box.
The objective is not only to create a hole but to establish a location that provides enough space for all components with room for proper adjustment.
Lay the Base and Set the Conduit
Once the hole is ready, it is time for the stone. Start with the coarse kind to build a firm base. Pack it in tight with your foot or a tamper. Keep going until you are almost at the height of the adapter.
Then, switch to a finer grade of stone to finish the top couple of inches. This smoother layer supports the conduit better and makes everything more stable. Next, drop the conduit into the hole. It should line up with the box opening. Make sure it does not shift around or get buried under the stone. You are aiming for a clean fit that stays put.
Place the Box Over the Conduit
Take your box and open it up. There is usually a mounting plate inside. You will need to take that out for now. Next, pop out one of the knockouts on the side where your conduit goes. That is the hole where the conduit slips in. Once that is done, place the mounting plate back inside. The conduit should go right through the knockout.
If things are off, do not force it. Lift it back out and adjust. A snug fit matters, but it should not be bent or twisted. Use a lock nut to hold the conduit tight against the box. You want it firm but not overly tight. Too much pressure might crack the box or strip the threads.
Tighten and Level Everything Out
Once the box is down and the conduit is in place, check the level. Use your long level to make sure the box sits flat in every direction. If one corner is higher than the others, add or take out some stones. A box that leans will shift even more once it is buried, and you do not want to dig it up later. Tighten the caps, double-check the lock nut, and make sure the lid opens and closes without sticking.
Backfill Without Rushing
Fill the rest of the hole with the dirt you pulled out earlier. Take out any big stones or chunks first. Pack it in gently as you go. Use your boot or a tamping tool to press down every few inches. This keeps the dirt from settling unevenly later on. Stop filling when the dirt is flush with the top of the box.
If you plan to add grass or mulch, give yourself a little space for that. You do not want the box buried too deep. It should be just low enough to blend in but still easy to reach.
Do One Last Check
Walk around the area and inspect it carefully. Step on the ground around the box to ensure it feels solid. Open and close the lid to check for any sticking or shifting, as this could indicate an issue beneath the surface.
Address any problems now, before everything settles. If the box is not in a visible location, consider marking the spot with a garden marker or small flag. This will save time later if you need to locate the box again.
At Sonic Electric, we do more than just sell electrical products - we provide solutions. By keeping things simple, we ensure that your project is our priority. You share your needs, and we help you select the right tools and equipment.
Our products are designed to align with how people build, and contractors rely on our inventory. Homeowners return when it's time for their next upgrade. Our team consists of knowledgeable professionals who listen carefully to understand your goals and offer the support you need. Contact us and talk to our team today.


Share:
New Uni-PAK to aid compliance with 2020 NEC
Load Center Vs. Panelboard: Key Differences Explained