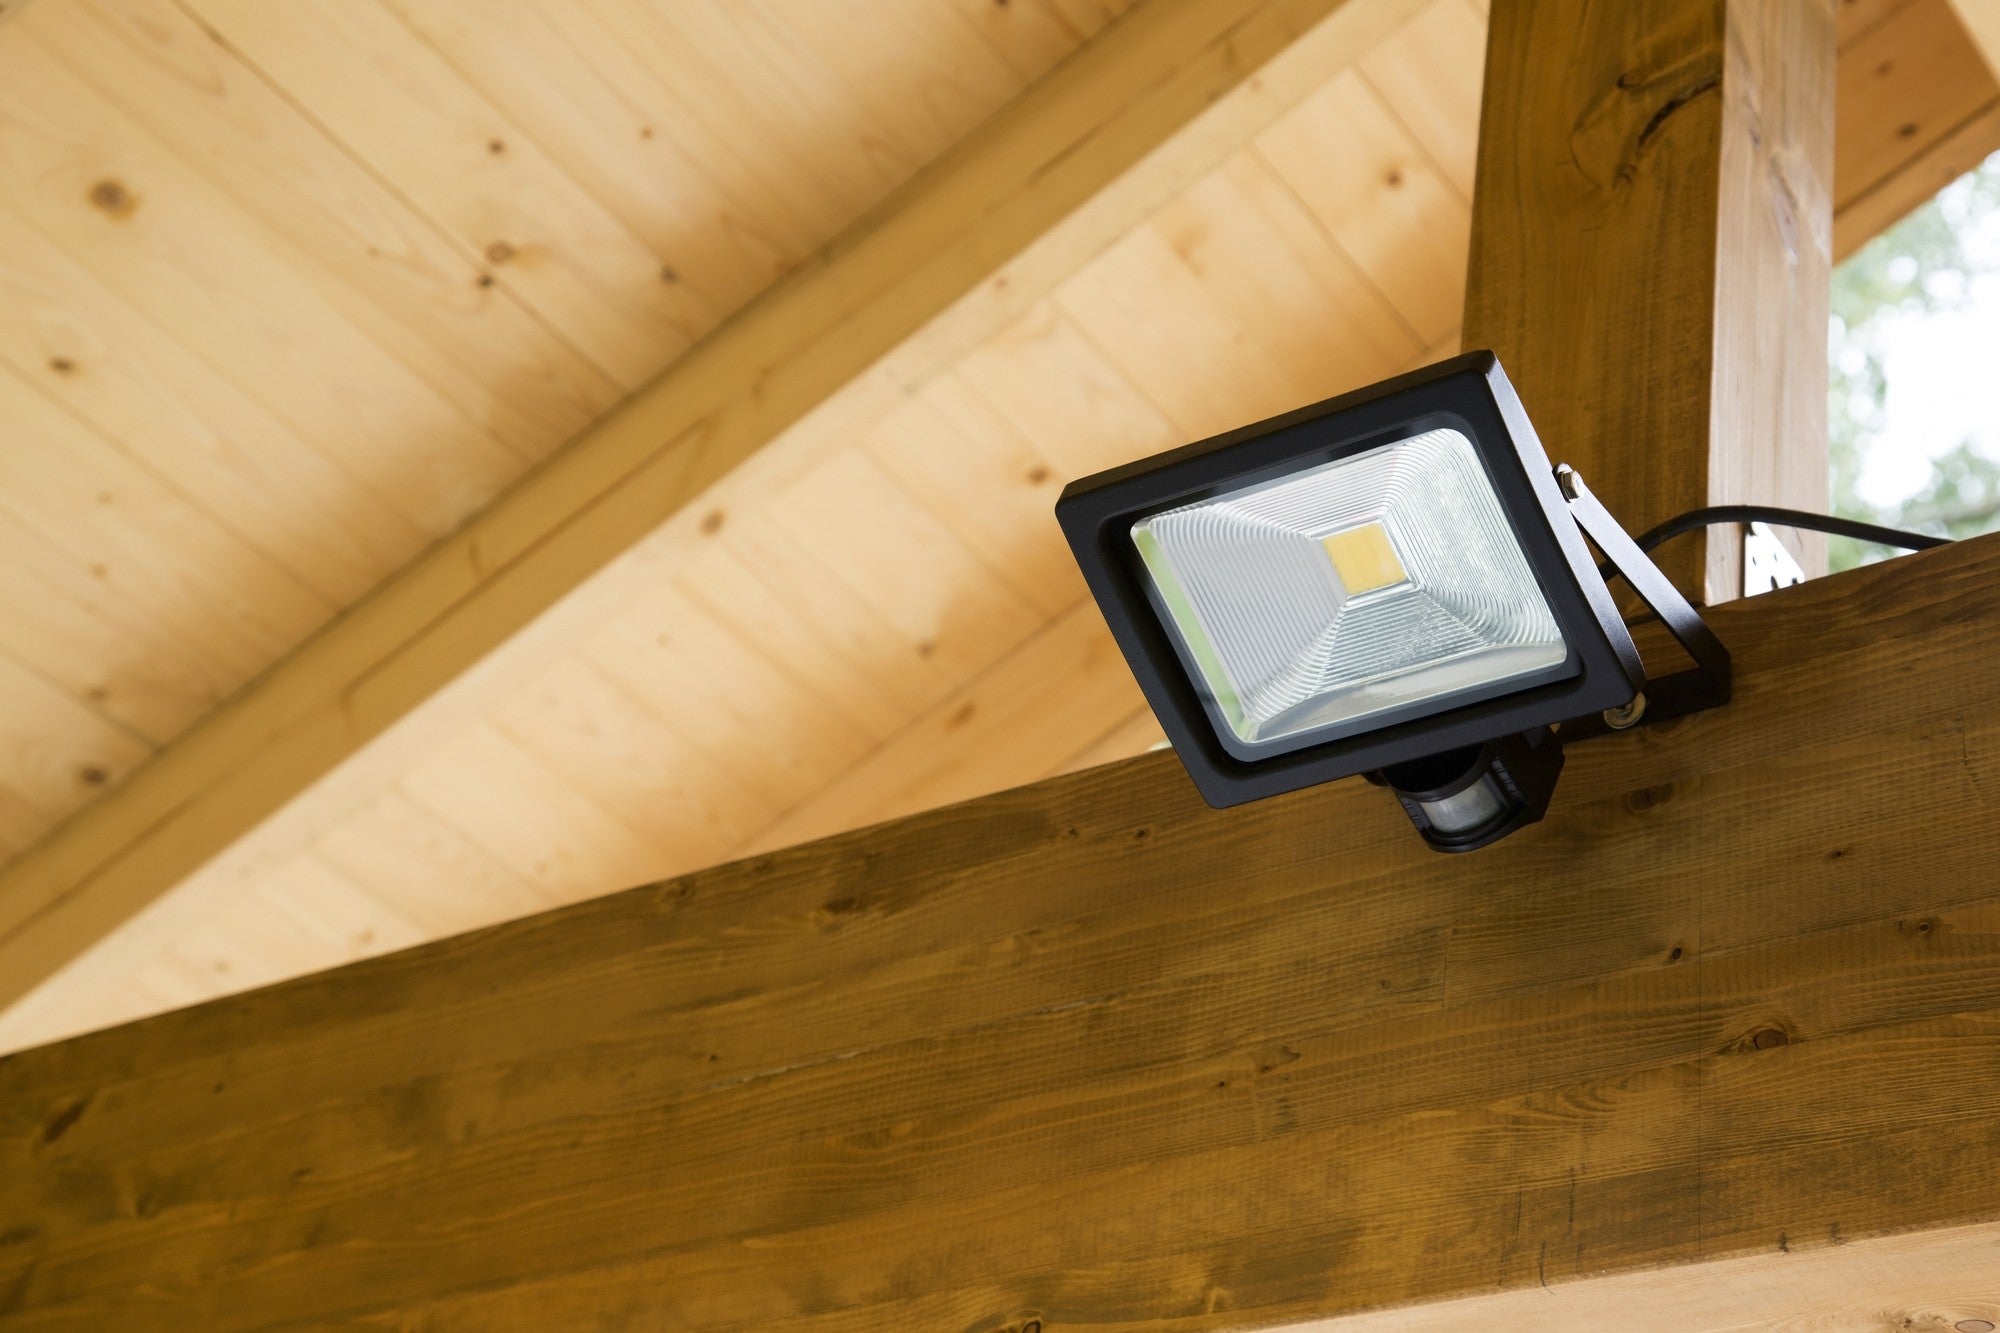
Whether you're aiming to illuminate your backyard for evening gatherings or secure the perimeter of your property, setting up flood lights can be a straightforward DIY project with the right tools and guidance. In this blog, we will walk you through the basic steps of how to install flood lights.
Planning Your Installation
Before you begin the actual installation, it's important to plan where your flood lights will go. Consider areas that are particularly dark or where security could be enhanced. Good locations typically include over garage doors, near entryways, and around the perimeter of your backyard.
Once you've chosen the locations, determine the type of flood lights that best suits your needs. LED flood lights are a popular choice due to their long lifespan and energy efficiency. Make sure the flood lights you select are suitable for outdoor use, with appropriate weatherproof ratings to withstand the elements.
Gathering Materials
To install your flood lights, you will need the following tools and materials:
⦁ Flood lights
⦁ Drill with appropriate bits
⦁ Screwdriver
⦁ Wire strippers
⦁ Electrical tape
⦁ Ladder
⦁ Silicone sealant (for waterproofing)
⦁ Junction box (if required)
Ensure you have all these items on hand before proceeding, as having the right tools will make the installation process smoother and safer.
Turning Off the Power
Safety first. Always start by turning off the power at the circuit breaker that feeds the outdoor lighting circuit. This precaution prevents any accidental shocks or electrical incidents. Double-check that the power is off by using a voltage tester near the wiring once you access it.
Installing the Mounting Bracket
Climb the ladder to reach the location you have chosen for your flood light. Attach the mounting bracket to your chosen surface. This could be a wall, soffit, or a pole designed specifically for lighting. Use your drill to secure the bracket firmly in place with screws. If you are mounting the flood light on brick or another masonry surface, use a masonry bit and wall plugs to ensure a secure fit.
Connecting the Wires
Before connecting the wires, ensure your light fixture is properly assembled according to the manufacturer’s instructions. Typically, flood lights will have three wires: black (hot), white (neutral), and green or bare (ground).
Feed the wires through the mounting bracket into the electrical box (if using one) or directly connect them to the existing wiring using wire nuts. Connect like colors together—black to black, white to white, and green to green or to the bare wire. Secure each connection with electrical tape and ensure there are no loose strands or exposed wires.
Attaching the Flood Light to the Bracket
Now, attach your flood light fixture to the mounting bracket. This step varies slightly depending on the model of your flood light but generally involves aligning the fixture with the bracket and securing it with screws or bolts provided by the manufacturer. Adjust the angle of the light to ensure it covers the desired area effectively.
Sealing and Weatherproofing
Once the flood light is securely attached, it’s important to ensure no water can enter the electrical connections. Use silicone sealant around the edges of the fixture where it meets the mounting surface. This sealant will help to keep out moisture, which can be particularly important in areas with harsh weather conditions.
Testing Your Flood Lights
After everything is secured and sealed, it's time to test your installation. Turn the power back on at the circuit breaker, and activate your flood lights. Check the coverage area and adjust the light angles if necessary. If your flood lights are equipped with motion sensors, walk around the area to test the sensitivity and range of the sensors.
Additional Lighting Considerations
Once your flood lights are installed, you might consider integrating other types of lighting to complement your setup. For instance, LED High Bay Lights are an excellent option for illuminating large areas such as workshops, warehouses, or large garages. Their powerful, directed light can greatly enhance visibility in spaces with high ceilings.
Another useful addition could be LED Vapor Lights. These fixtures are specifically designed to withstand moist and dusty environments, making them perfect for basements, garages, and industrial settings where dampness can be a problem. Their robust construction ensures that dust, dirt, or moisture does not compromise the light's performance.
Integrating with Home Automation Systems
If you have a home automation system, consider integrating your new flood lights into it. This integration can allow you to control the lights remotely, set schedules, or even sync them with other security features like cameras or motion sensors. Check the compatibility of your flood lights with your home automation system and follow the manufacturer’s instructions for connectivity.
Maintaining Your Flood Lights
To ensure that your flood lights continue to operate efficiently, regular maintenance is necessary. This includes cleaning the light fixtures to remove any dirt or debris that could obstruct the light output. Also, inspect the fixtures periodically for any signs of wear or damage, especially after extreme weather conditions. Replacing bulbs (if applicable) before they burn out can prevent gaps in your lighting coverage.
Compliance and Legal Considerations
Lastly, familiarize yourself with any local regulations or homeowner association rules regarding outdoor lighting. Some areas have specific requirements or restrictions on the type of lighting allowed or the brightness levels to prevent light pollution. Ensuring your installation complies with these regulations will help you avoid any potential issues or fines.
By following these steps on how to install flood lights, you can successfully install and maintain an effective lighting system that enhances the safety and aesthetics of your property. Flood lights are just the beginning—explore various lighting solutions to find the perfect combination for your needs.
Ready to enhance your home or business with reliable lighting solutions? Visit us at Sonic Electric. We pride ourselves on offering a wide range of high-quality lighting products that cater to both residential and commercial needs. Explore our selection, find the perfect lighting fixtures, and benefit from our expert advice. Let us help you illuminate your space beautifully and efficiently. We're here to light up your world with innovation and care.


Share:
12 Different Types Of Exhaust Fans To Choose From
How Do Motion Sensors Work (A Complete Guide)